
Problem Solution
Installation Efficiency Cable Tie Solutions for Faster Cable Routing
Process guidance and product selection for reducing cable tie installation time in control cabinets, wire harness production, machinery routing, cable trays and field maintenance work.
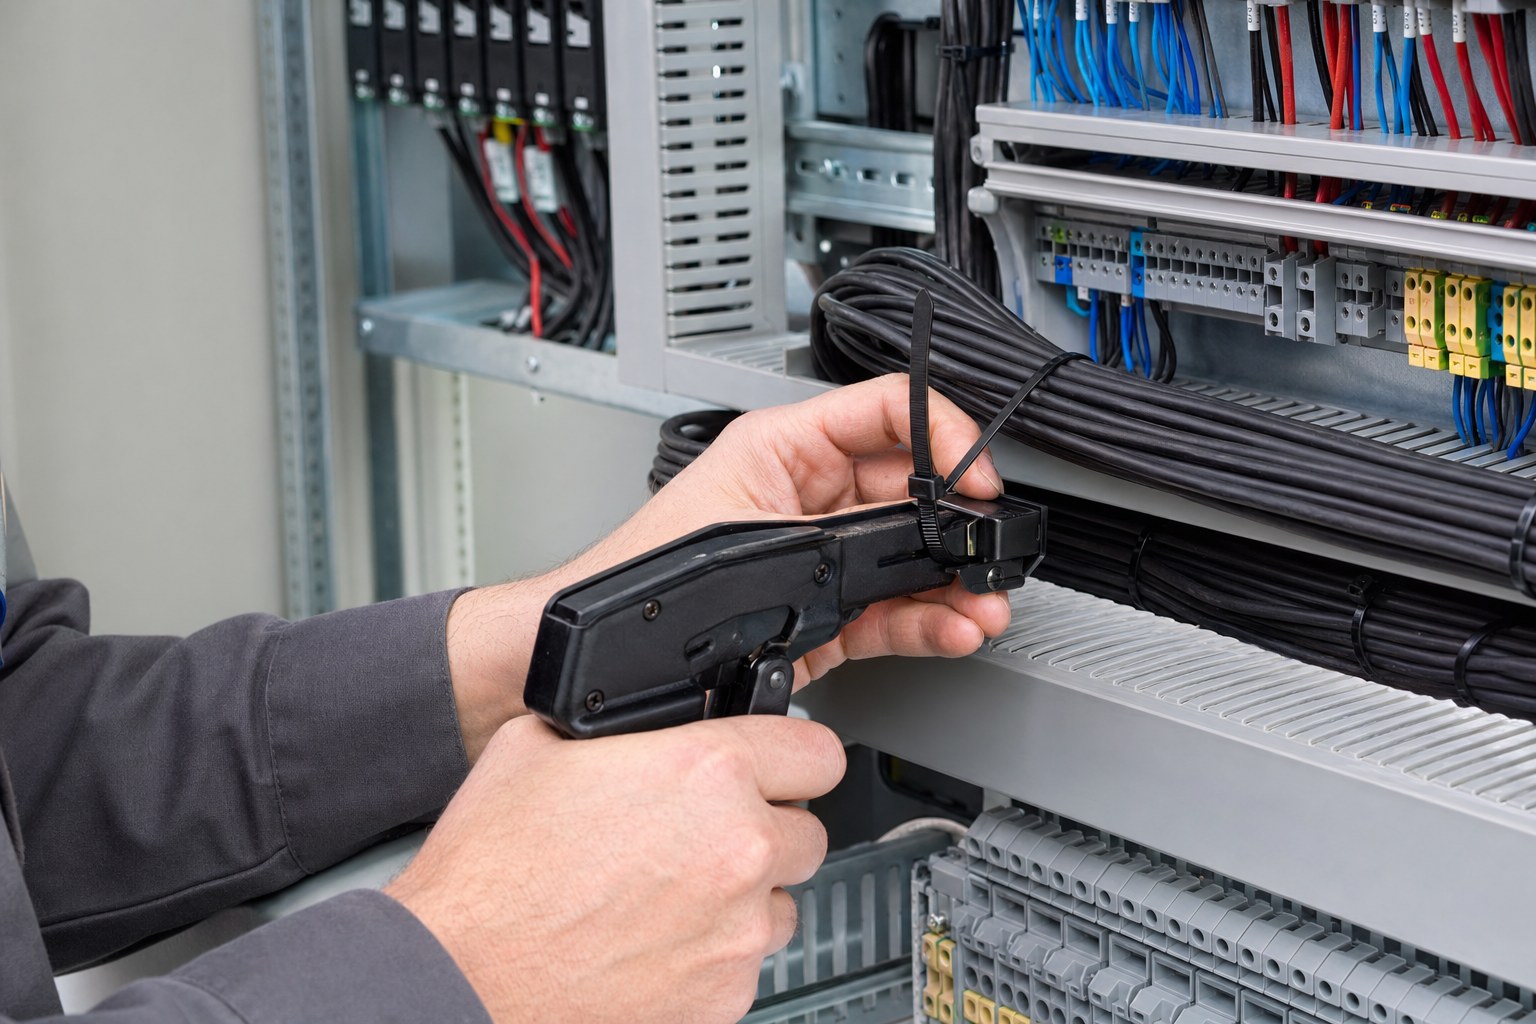
Application Introduction
Installation efficiency is a practical buying factor for cable ties. In repetitive wiring work, the cost is not only the tie itself. Labor time, inconsistent tension, long tails, tool access and rework all affect the total cost of a cable management job.
Efficient cable tie installation starts with selecting the right tie material, length, width, tensile strength and tool. It also depends on route planning, tie spacing, pre-positioning and a clear finishing standard for every installer.
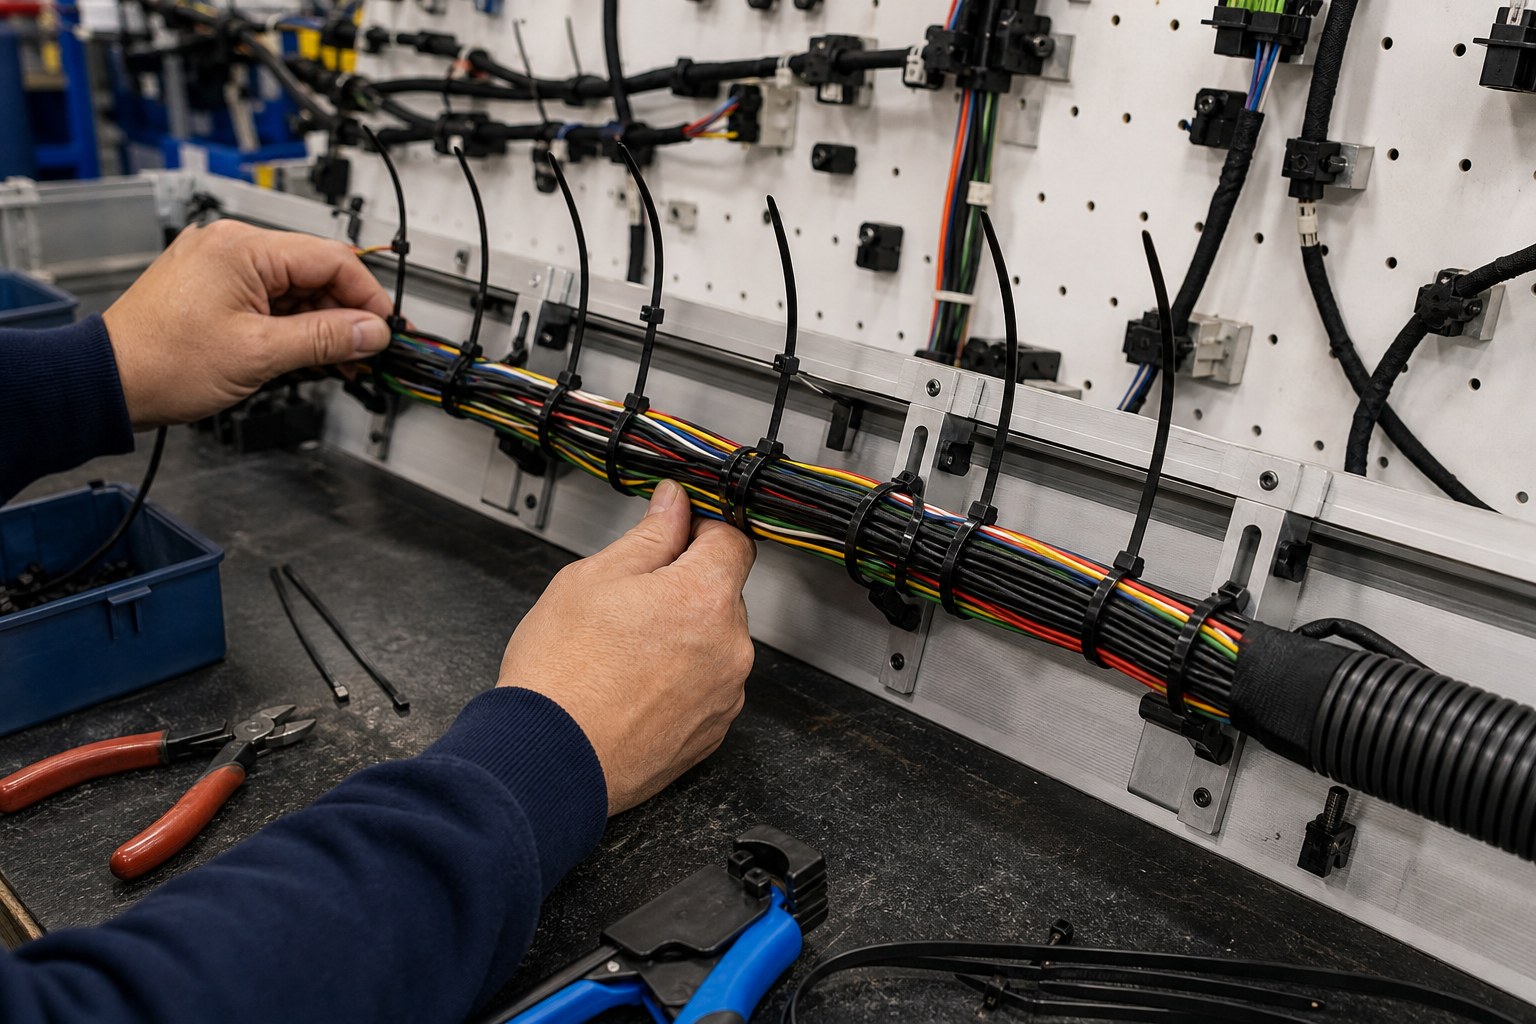
Field Pain Points
Slow Manual Pulling
Hand pulling every tie is tiring and inconsistent, especially when hundreds of fastening points are required.
Long Untrimmed Tails
Uncut or poorly cut tails create snag points, poor appearance and extra finishing work.
Wrong Tie Size
Oversized ties waste material; undersized ties slow installers and increase failed fastening attempts.
No Standard Process
Different installers may use different spacing, tension and routing rules, causing inconsistent project quality.
On-Site Problem Analysis
Before choosing a faster product, identify where time is being lost: tie feeding, manual pulling, cutting, repositioning, tool access, bundle preparation or post-installation inspection.
- High tie count: repeated cabinet, harness or tray work usually benefits from a tensioning and cutting tool.
- Inconsistent tails: long tails indicate the process needs a flush-cut standard, not only a cheaper tie.
- Access-limited routes: narrow cabinets or machinery panels may need narrower ties, angled tools or pre-positioned loops.
- Rework after inspection: if bundles are hard to inspect, route planning and tie spacing should be corrected first.
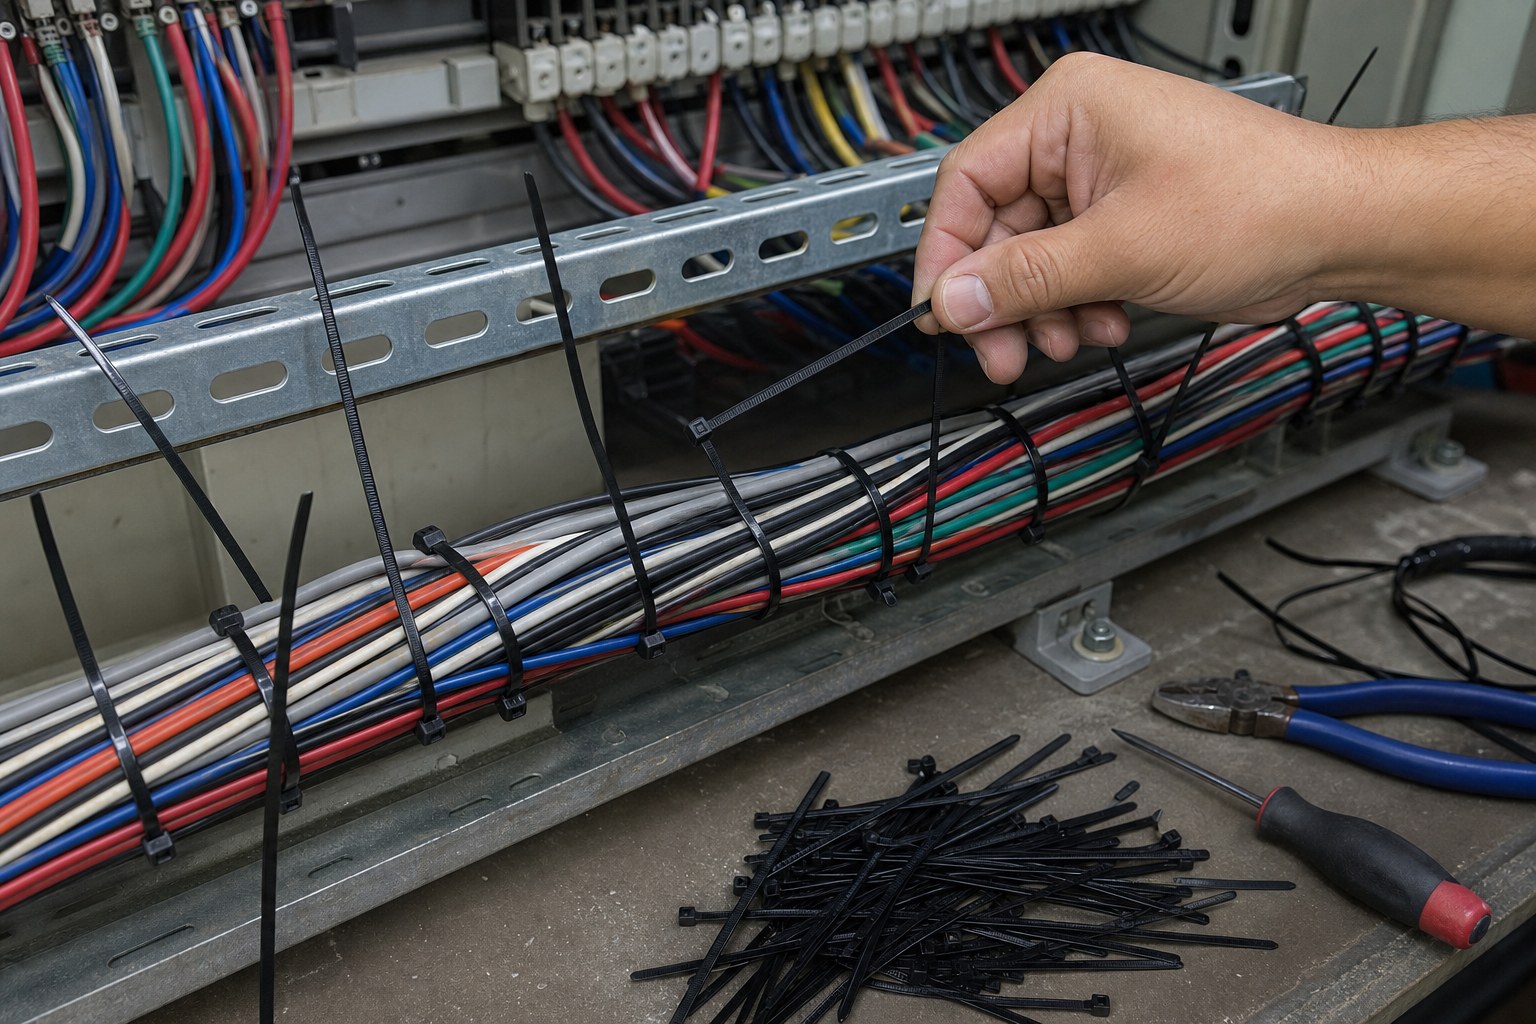
Recommended Solution
Improve installation speed by matching the tie, tool and process to the actual route. The best solution is usually a small system, not only a single cable tie SKU.
| Efficiency Problem | Recommended Starting Point | When to Use |
|---|---|---|
| Repeated cabinet wiring | Standard PA66 ties plus manual tensioning/cutting tool | Control cabinets, electrical panels and machine wiring routes with many repeated tie points. |
| Wire harness production | Pre-positioned ties, assembly fixture and flush-cut standard | Harness benches, automotive subassemblies and repeatable production work. |
| High-volume bundling | Automatic or pneumatic cable tie tool where compatible | Factories with repeated same-size bundles and controlled workstation conditions. |
| Outdoor or large cable trays | UV-resistant or stainless ties with correct width and tool access | Field routes where tie strength, weathering and installer reach matter. |
| Maintenance routes | Releasable ties or reusable hook-and-loop where frequent access is required | Test benches, telecom cabinets, temporary routing and service-heavy equipment. |
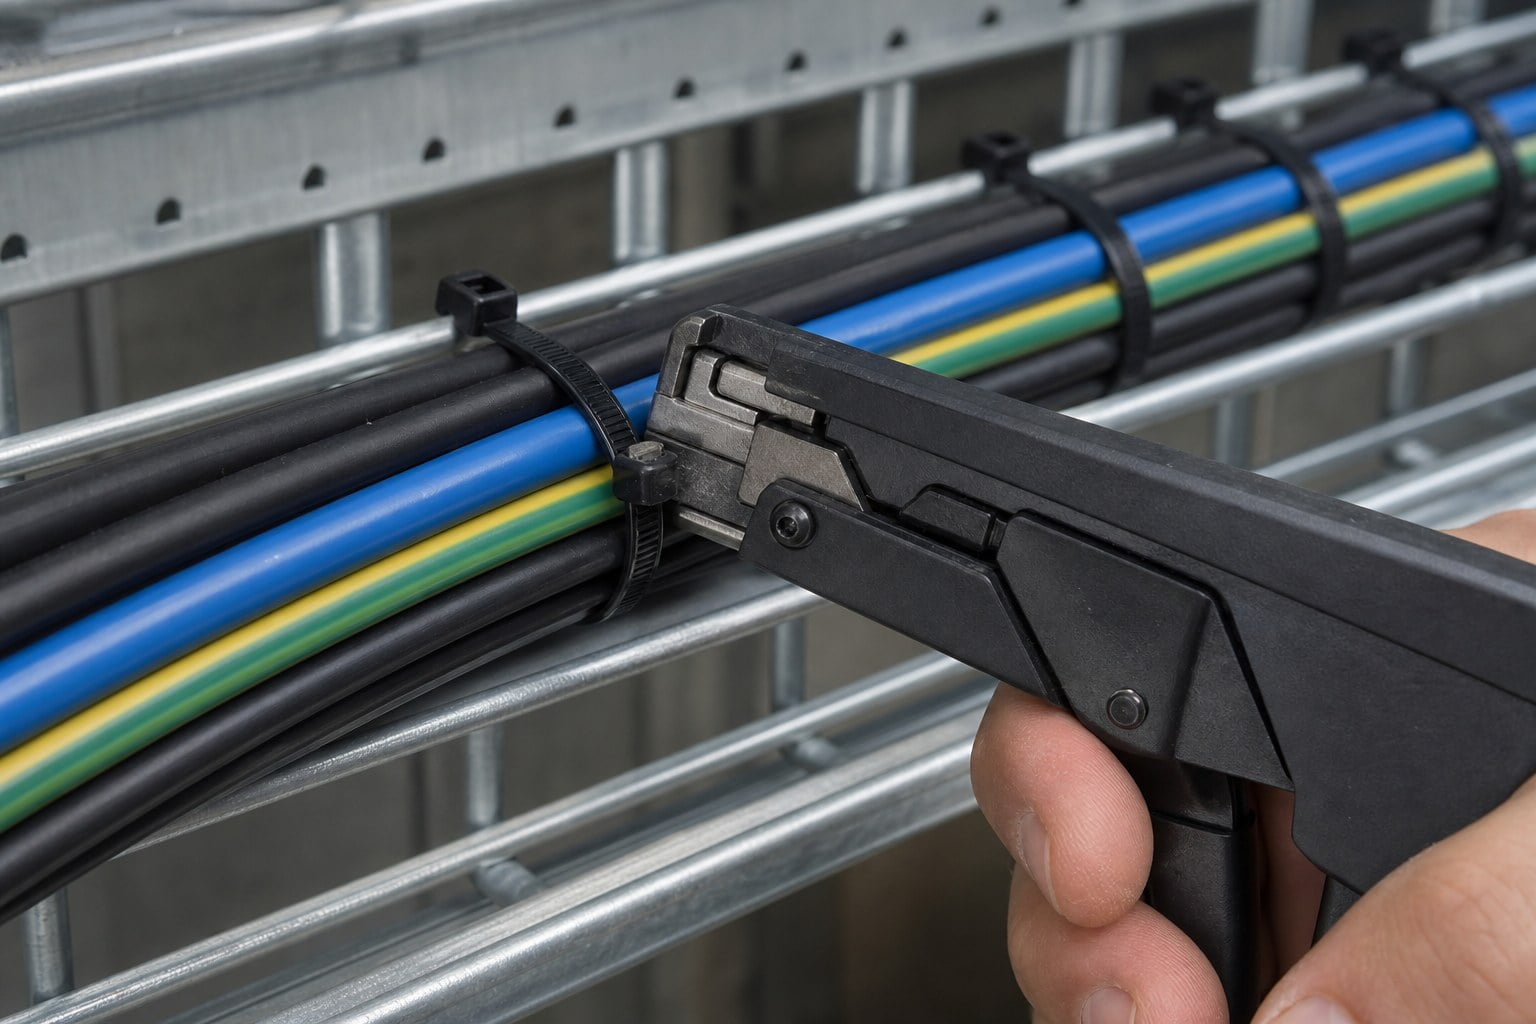
Product Combination
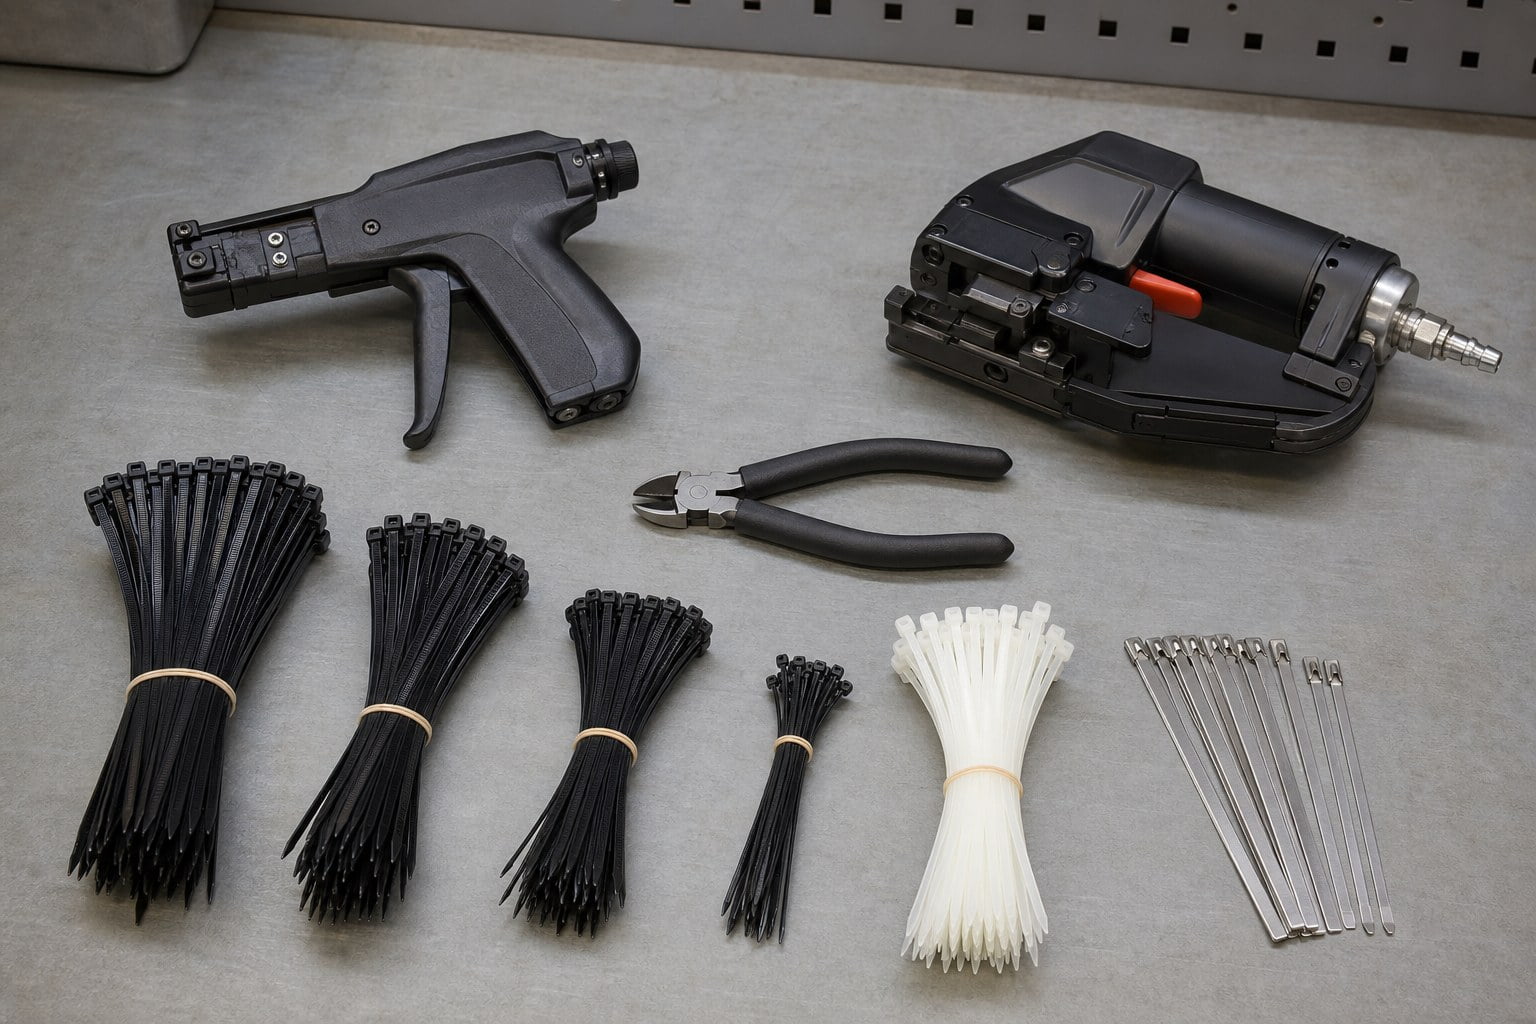
Efficient cable tie installation normally combines ties, tools and clear process rules. The product kit should match the route, bundle diameter and required installation volume.
Standard Nylon Ties
For everyday cabinet wiring, harness routing and general indoor bundling.
UV / Heavy-Duty Ties
For outdoor trays, larger cable groups and higher retention requirements.
Manual Tie Guns
For consistent tension and flush tail cutting in repeated installation work.
Automatic Tool Options
For high-volume production where bundle size and workstation process are stable.
Selection Note
Ask for bundle diameter, number of tie points, route environment, material requirement, workstation condition and expected installation volume before recommending tool type or tie size.
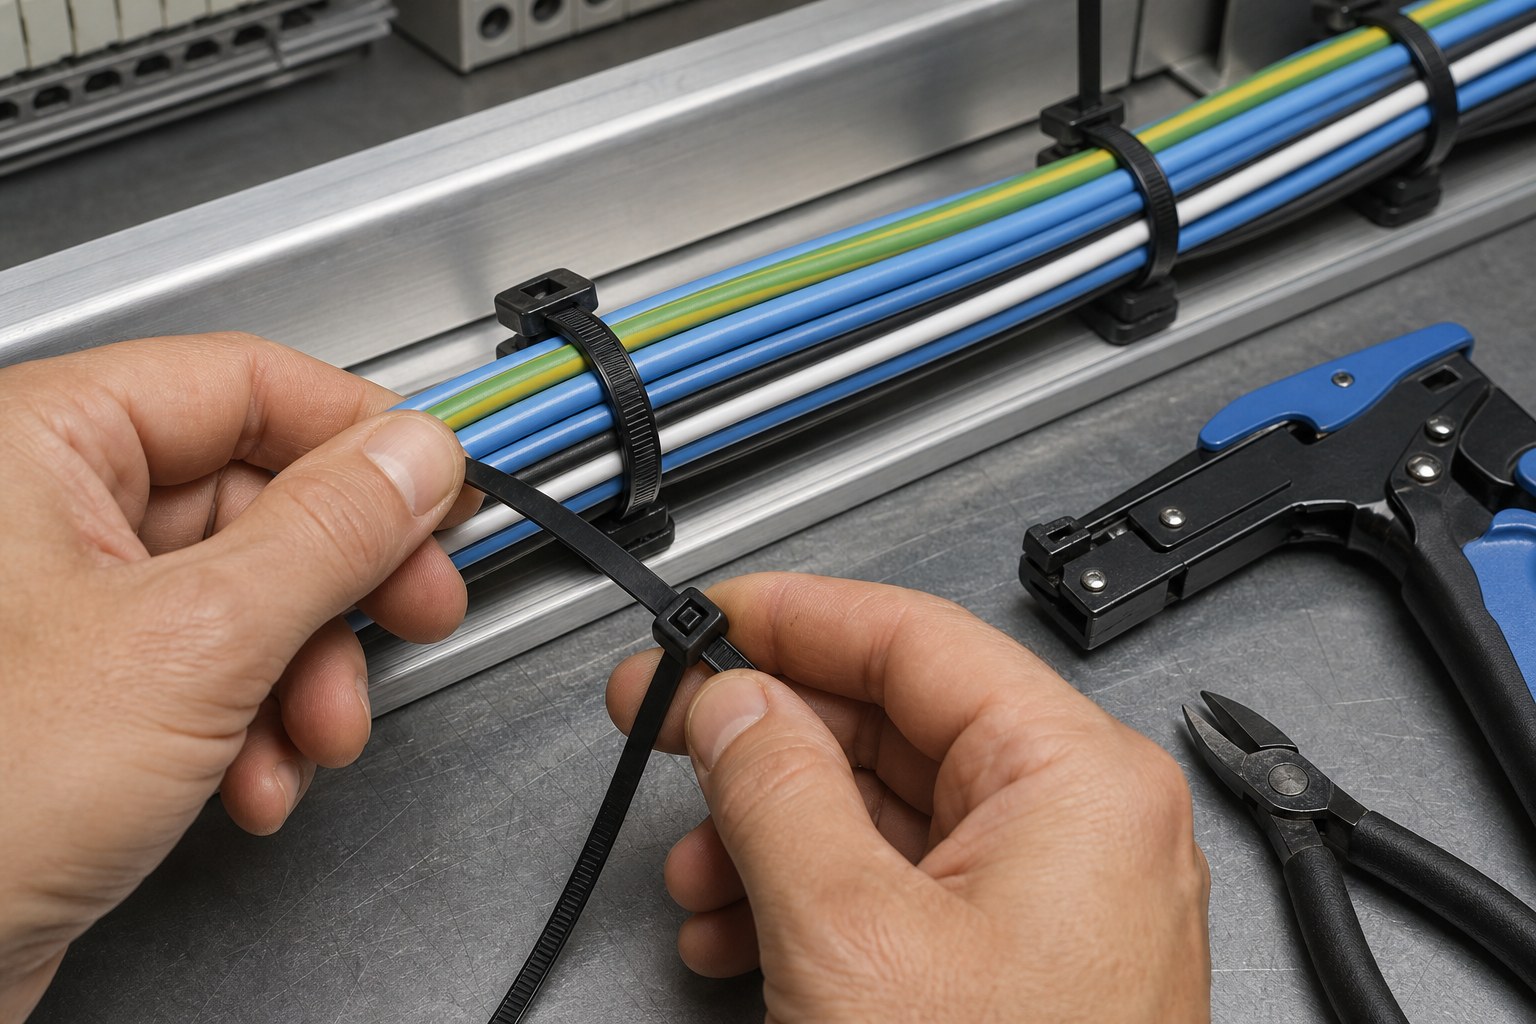
Product/tool visuals belong in product selection sections. Application sections use photo-style installation visuals with hands, tools and real cable routes.
Product Parameters
| Item | Key Parameters | Efficiency Impact | Typical Use |
|---|---|---|---|
| Standard PA66 cable tie | Length, width, tensile strength, color, operating temperature | Correct sizing reduces failed fastening and wasted material | Cabinet wiring, small harnesses, indoor routing |
| Heavy-duty nylon tie | Wider strap, higher tensile strength, UV or heat-stabilized grade | Fewer ties may be needed for larger cable groups | Outdoor trays, machinery, larger bundles |
| Releasable cable tie | Release tab, reusable cycles, material grade, tensile strength | Reduces replacement when routes need repeated access | Maintenance panels, telecom cabinets, test benches |
| Stainless steel cable tie | SS304/SS316, width, thickness, locking style, tool compatibility | Improves retention where plastic ties would need frequent replacement | High heat, outdoor, coastal and industrial routes |
| Cable tie gun/tool | Tension range, cutting style, tie width range, manual/pneumatic/automatic type | Controls tension and trimming consistency across installers | Production benches, repeated cabinet work, cable trays |
Installation Steps
- Group the cables by route, service access and bending radius before tying.
- Select tie length and width based on bundle diameter and environment.
- Pre-position ties at consistent spacing before final tensioning.
- Feed the tapered tail through the single locking head and keep the head accessible.
- Use the correct tension setting or hand force; do not crush cable insulation.
- Trim the tail close to the locking head and inspect for sharp cut edges.
- Record the spacing and tool setting for repeat orders or production workstations.

Field Case
From hand-pulled ties to a repeatable cabinet wiring process
Application: Industrial control cabinet wiring and repeated cable bundle routing.
Problem: Installers used different tension and cutting habits, leaving long tails and inconsistent spacing.
Solution: CableTiesMFG recommended correct tie sizes, a manual tensioning/cutting tool, spacing guidance and a simple inspection checklist.
Result: The route became cleaner, easier to inspect and faster to repeat during future cabinet builds.
Why Choose CableTiesMFG
Process-Based Selection
We recommend ties and tools based on route condition, bundle size, volume and installer workflow.
Factory Supply Range
Standard nylon, UV-resistant, releasable, stainless steel and tool-compatible cable tie options.
Export Support
Bulk packaging, OEM options, project quotations and documentation support for distributors and B2B buyers.
FAQ
When should we use a cable tie gun?
Use a tensioning and cutting tool when installers repeat many tie points or when consistent tail trimming and tension are important.
Can automatic cable tie tools be used for every job?
No. They work best when bundle diameter, tie size and workstation process are stable. Field work may still require manual tools.
Does faster installation mean tighter ties?
No. Efficiency means controlled tension, correct spacing and clean trimming. Over-tightening can damage cable insulation.
What information is needed for a quote?
Bundle diameter, route environment, tie material, tensile strength, tie count, installation volume, packaging and tool requirement.
Need faster, cleaner cable tie installation?
Send your bundle diameter, cable route photos, expected tie count and installation environment. We can recommend tie size, material and tool options for your project.